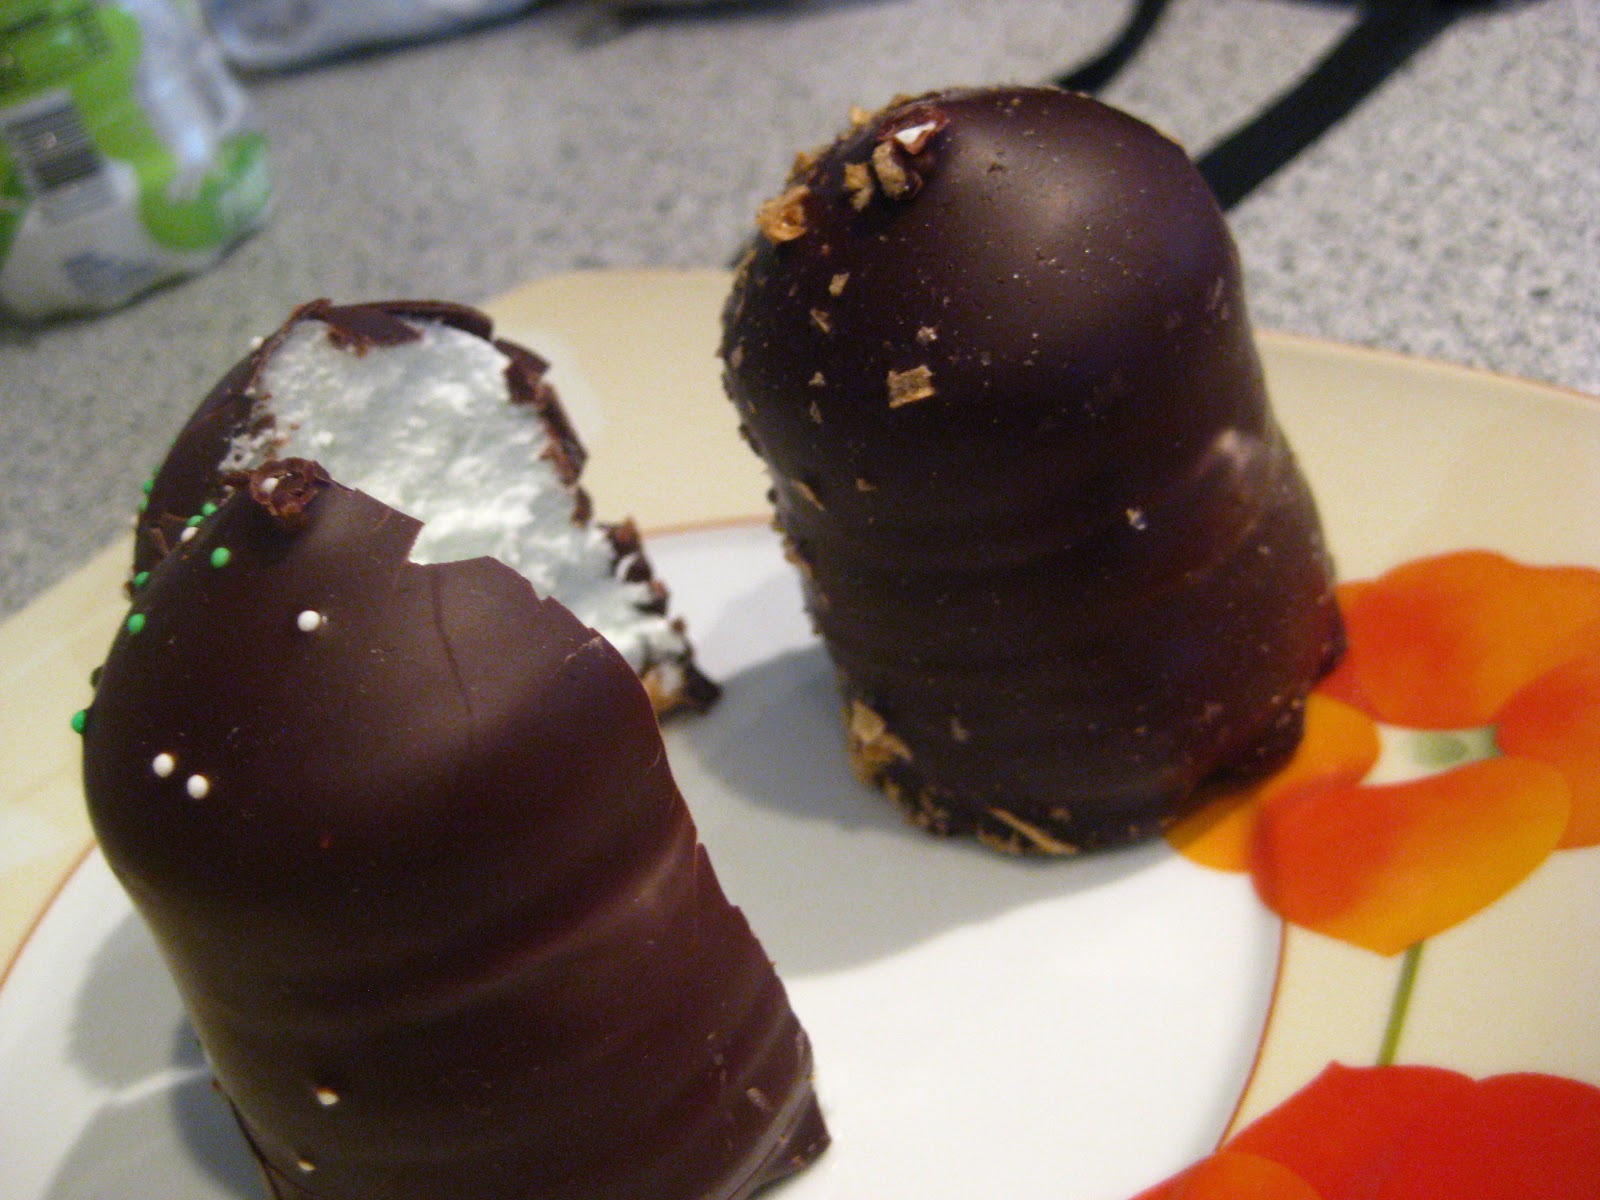
Almost every year my family would make chocolates as treats to give to friends and extended family. I remember this being a really fun time, but now having done it on my own, it must have been a pretty stressful project for my parents. But I'm so glad we did it because I have so many good and some silly memories of being with my family, making something to share with other people. This year I made these to bring to a party where we were supposed to bring our family's traditional Christmas treat. I'm going to put up 2 posts, this first one will talk about the dipping process and some basics, the second will give recipes and details for the caramel centers.
 |
| freshly dipped caramels and coconut caramels |
Here's what needs to happen:
First make the caramel or other type of candy centers. You can do this several days ahead of time. Let the caramel cool completely to set up, wash your hands (see note 1), and cut caramel into appropriate sizes and shapes. If you form the different types of centers into different shapes then it is easy to distinguish them later when they are all dipped in chocolate. I tried to do this consistently, but kind of gave up on some of them and now I can't tell if most of them are regular caramel or coconut caramels. Keep the cut centers cool in the fridge or freeze them if they are very soft (some of mine were even kind of gooey when frozen!), until you are ready to start dipping.
 |
| melting milk and dark chocolate |
 |
| square caramels and coin-shaped coconut caramels |
When you are all ready and have time to dip all your centers, start getting your chocolate ready
(see note 2). For this you will probably want a double boiler (I just used a small metal bowl over a pan of water, but how 'bout
this nifty gadget?), and I think the microwave is a good option for melting it too. This can take some time, be patient, don't scorch it, it will be okay. Here's some instructions for tempering chocolate from
Mark Bittman, and here's some from
Ghiradelli. Tempering the melted chocolate prevents dull, grey, spotted chocolate with a crumbly texture. My new
Chocolate book gives less precise instructions than the websites. The author says that you can't use a thermometer to temper correctly, I'm not sure if he is correct, or maybe he just said that because he didn't want to give as good of directions in the cheapo book. Perhaps the exact temperatures depend on what type of chocolate it is and it's fat content. But I did learn from him that you want to use high quality chocolate with a high percentage of fat, because when it melts, it is runnier at a lower temperature, so you don't get too thick of a coat on each piece. To that I say, how thick is too thick? My conclusion: Use the highest quality stuff you can find; if what you can find is chocolate chips, that is fine, go for it. You can see in my picture (at bottom) that my attempt at tempering didn't go so well, but they still taste great. I thought I was tempering it just right, but still got some spottiness and some have pretty crumbly outsides. Since the tempering process can take a while, this is a good time to do some more prep work.
Wash your hands and prepare trays for places to put the dipped chocolates by laying out buttered aluminum foil
(see note 3) or wax paper onto flat things--trays or baking sheets. Cut up and shape the centers if you haven't done that already.
 |
| dip the center... |
 |
| ...plop the dipped center onto the tray |
So, now your chocolate is melted, tempered (hopefully) and your centers are cut and formed into the shapes you want and chilled, and
your hands are clean, it's time to start dipping! Pour a small puddle of chocolate onto a warm plate
(see note 4), then take a chilled center/caramel and drop it into the chocolate, use a
clean dinner fork, roll the center around until all the sides are covered and then scoop it out, tap the fork on the plate a few times to get off the excess chocolate, and plop it on to the prepared surface. Don't leave the centers in the chocolate for long--you should just need to turn it over once or twice, then get it out. Dip centers until you don't have enough chocolate on the plate anymore, or until the chocolate is starting to get too cold and stiff to dip. Scrape the cooling chocolate from your plate back into the rest of the melted chocolate, stir, re-warm your plate if you want, and then start again. Melt more chocolate as needed. When you have filled up a tray of chocolates, bring them to a cool place to let them set up all the way. I opened a window in the bedroom and that turned out just about right. In the end I made 3 batches of caramel (recipes coming soon!) and used about 4 pounds of chocolate.
 |
| three kinds of chocolates: coconut, pomegranate, and caramel |
When your chocolates are cool, you can get fancy little paper cups and boxes to put them in for gifts. Packaging the chocolates doesn't sound that fun, but I liked it because we got to look at them all and find the beautiful ones to put in boxes for our favorite people. We also tried to make ugly ones sometimes, with clumpy exteriors so that we could eat them ourselves.
 |
| see the spottiness of my imperfectly tempered chocolate? |
Notes:
1) Keep everything
very sanitary. Clean double boiler, clean plate, clean fork, and most of all, clean hands. Keep your hands clean when forming the centers, preparing the chocolate, dipping, and packaging the final product. Wash your hands if you touch anything, especially your face or a doorknob or the fridge handle. Because the chocolates are not going to be baked or in any way exposed to high temperatures after this point, you need to reduce the likelyhood of any germs getting in them, especially if you are giving them away.
2) When melting the chocolate, and when pouring the chocolate from the double boiler to your plate, be extra careful to not let any water get in it. Chocolate will seize and get a curdled texture that is completely unworkable if water gets in it. There were a couple of times when pouring the chocolate onto my plate when just a drop of water fell from the bottom of the bowl onto my chocolate puddle and I freaked out and immediately soaked it up with a paper towel, which (surprisingly) worked, but Lovemuffin could hear me in the kitchen yelling at my chocolate, "Are you okay???" It was pretty scary. For both of us :)
3) Buttered aluminum foil is (in my opinion) way easier to use because the edges don't curl up. In fact, you can form them around the corners of the trays you use. But if you already have wax paper on hand and don't mind the way it likes to curl up, or you have a trick for dealing with that, you can certaily use it and it will work fine.
4) You can warm up some plates in the oven on a low temperature (be sure to handle with a
clean hot pad when warm!), it helps if you've just cooked dinner or something and the oven is still warm but cooling down. This isn't super necessary, but it made it easier for me because the chocolate doesn't cool down as fast and you can dip more centers at a time.
 |
| The hardest part of dipping is not licking your fingers when they look like this. |
Thanks to my dad for his recommendations and scientific insights that helped me with the project and this post.